Current & Recent Projects
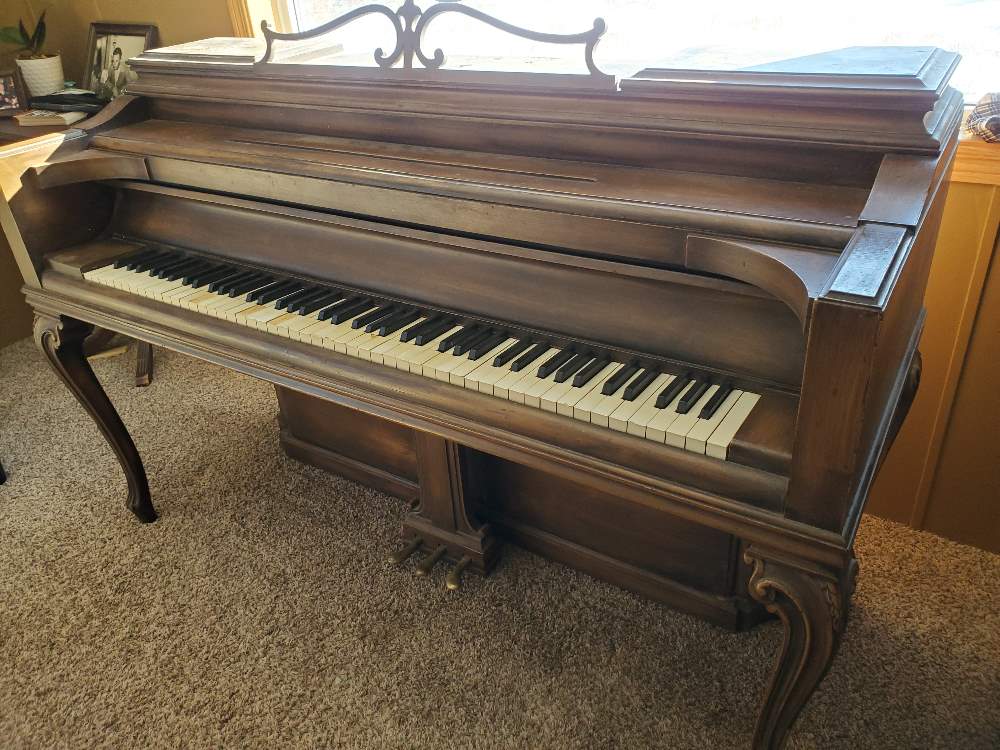
38" Knabe Studio #133816 (1946)

38" Knabe Studio #133816 (1946)
Traditional Mahogany Cabinet. Reconditioned in April, 2021 for the current owner in Clear Lake, MN.
 |
A2 - Harp OK |
|
 |
A3 - Lid Music Desk & Fallboard Removed |
|
 |
A4 - Action Removed |
|
 |
A5 - Underkey Punchings Worn |
|
IMPROVEMENTS:
Repin--Repin bass section with larger-size tuning pins.
Recondition ActionRecondition action (clean & tighten screws, replace defective parts, replace bridle tapes hammers & treble damper felts.
Complete Cleaning--Clean cabinet interior, strings, pressure bar, keybed, keypins, pedal mechanisms.
Complete RegulationInstall new felt underkey punchings. All regulation adjustments to ensure that piano plays like new. Adjust pitch & tune.
Selected pictures of the step-by-step improvement process
CLICK PICTURE FOR LARGER IMAGE, THEN CLICK "CLOSE" TO RETURN TO THIS PAGE
Original Manufacturer of this brand-name--Wm. Knabe & Gaehle.
Established--by William Knabe and Henry Gaehle, MD, 1837.
Other brand-names used by this manufacturer--The company was incorporated and in 1908 joined the American Piano Company. In 1932 Aeolian purchased American and formed the Aeolian-American Co. Knabe became part of the Mason & Hamlin Corp., along with Sohmer, Falcone and George Steck. In 1996 Young Chang started building Knabe pianos for Mason & Hamlin, and in 2002 Samick Music Corp. assumed production.
From: Pierce Piano Atlas, 12th Edition (2008, Larry Ashley Publisher, Albuquerque, NM).
Note: To obtain the age of your piano and details about the manufacturer, click: Pierce Piano Atlas--"the world's most authoritative publication on piano manufacturers, past and present." To learn how a piano works and how to go about buying one, we encourage you to purchase The Piano Book.
A - EVALUATION AND DISMANTLING AT OWNER'S HOME
For contact information, go to the "Home Page"
B - WORK COMPLETED IN THE SHOP
Selected pictures of the step-by-step improvement process
CLICK PICTURE FOR LARGER IMAGE, THEN CLICK "CLOSE" TO RETURN TO THIS PAGE
Cabinet is in original condition--exterior surfaces restored
 |
A6 - Hammers Worn |
|
 |
A7 - Bridle Tapes Worn |
|
 |
A8 - Dampers Worn |
|
 |
B1 - Strings cleaned |
|
 |
B2 - Underkey felt punchings removed, keypins cleaned |
|
 |
B3 - Damper levers and sustain bar removed |
|
 |
B4 - Hammer rail and regulating rail removed |
|
 |
B5 - Pedal lyre cleaned and rebushed, bolt found to replace missing bolt |
|
 |
B6 - White keys cleaned, replacements for chipped and missing keytops found and installed |
|
 |
B7 - Twenty defective jack springs replaced |
|
 |
B8 - All damper felts removed, damper blocks cleaned |
|
 |
B9 - Odd-numbered original hammers removed |
|
 |
B10 - Odd-numbered new hammers installed |
|
 |
B11 - Several hammer shanks replaced |
|
 |
B12 - Even-numbered original hammers removed |
|
 |
B13 - Even-numbered hammers installed |
|
 |
B14 - Hammer rail & regulating rail cleaned |
|
 |
B15 - Spring rail cleaned |
|
 |
B16 - Hammer rail & regulating rail re-installed |
|
 |
B17 - Spring rail re-installed |
|
 |
B18 - Sustain rail mechanism lubricated & re-installed |
|
C - WORK COMPLETED IN OWNER'S HOME
 |
C1 - With piano on its back, AC glue installed in pinblock to increase tuning pin torque |
|
.JPG "C2 - Four strings installed with new tuning pins. (2)") |
C2 - Four strings installed with new tuning pins. (2) |
|
.JPG "C3 - Missing bolt in lyre support replace with new bolt. (2)") |
C3 - Missing bolt in lyre support replace with new bolt. (2) |
|
 |
C4 - Felt underkey punchings and bolster cloth replaced with new. |
|
 |
C5 - Action installed |
|
 |
C6 - Capstans regulated to eliminate lost motion |
|
 |
C7 - Treble dampers regulated for even response to sustain pedal |
|
 |
C8 - Bass dampers installed & regulated for even response to sustain pedal |
|
 |
C9 - Letoff regulated & damper spoons regulated for even response to keystroke |
|
 |
C10 - Key heights & leveling regulated with punchings & front keypin bender |
|
 |
C11 - Key Dip regulated for even touch |
|
 |
C12 - Ready for tuning |
|
 |
C13 - Fallboard & keystop rail installed |
|
 |
C14 - Music rest & lid installed |
|
 |
C15 - Lower panel installed |
|
 |
C16 - Project finished! To be checked & tuned in 3 months |
|