Current & Recent Projects
54" McPhail Upright #43336 (1908)

54" McPhail Upright #43336 (1908)
Traditional mahogany cabinet. Reconditioned in September 2016 for the owner in Becker, MN.
IMPROVEMENTS:
Complete Cleaning--Clean strings, pressure bar, keybed, keypins, pedal mechanisms.
Recondition ActionReshape hammers, Tighten action screws, Replace or repair defective parts, Install new bridle tapes, several brass flanges, several sticker components, several butts, butt squares, catcher leather, key button. Clean & lubricate.
Complete RegulationAll adjustments to ensure that piano plays like new. Install new underkey punchings. Tune to pitch (slightly flat).
Original Manufacturer of this brand-name--A.M. McPhail Piano Co.
Established--1837 in Boston. Incorporated in 1891.
Other brand-names used by this manufacturer--None.
Other manufacturers of this brand-name--After 1957, McPhail brand-name pianos were manufactured and sold by Kohler & Campbell.
From: Pierce Piano Atlas, 12th Edition (2008, Larry Ashley Publisher, Albuquerque, NM).
Note: To obtain the age of your piano and details about the manufacturer, click: Pierce Piano Atlas--"the world's most authoritative publication on piano manufacturers, past and present." To learn how a piano works and how to go about buying one, we encourage you to purchase The Piano Book.
A - IN OUR SHOP
 |
9 - Heat for shank & hammer bending |
|
 |
10 - Align hammers to strings |
|
 |
11 - Remove old bridle tapes |
|
 |
12 - Install new bridle tapes |
|
 |
1 - Air clean action |
|
 |
2 - Remove all rails & bridle tapes |
|
 |
3 - Store rails & dampers |
|
 |
4 - Replace 20 broken brass flanges |
|
 |
5 - Replace 2 defective hammer butts |
|
 |
6 - Install 3 longer catcher shanks |
|
 |
7 - Install 2 new hammers |
|
 |
8 - Install new hammer rail felt |
|
For contact information, go to the "Home Page"
Selected pictures of the step-by-step improvement process
CLICK PICTURE FOR LARGER IMAGE, THEN CLICK "CLOSE" TO RETURN TO THIS PAGE
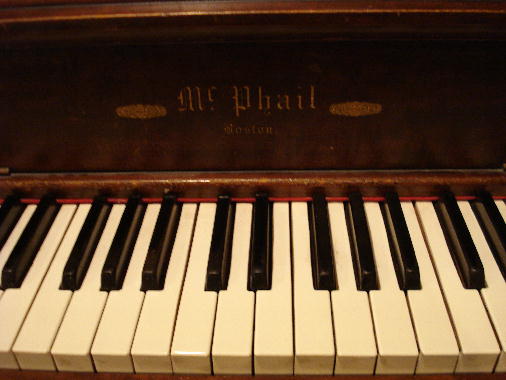
Picture #43 - Close-up of fallboard and keyboard
 |
13 - Clean & lubricate regulating rail |
|
 |
14 - Reglue & straighten several jacks |
|
 |
15 - Reshape hammers |
|
 |
16 - Replace 2 sticker flanges |
|
 |
17 - Clean & re-install damper rails |
|
 |
18 - Treat hard butt leather with neatsfoot oil |
|
 |
19 - Install several new butt squares |
|
 |
20 - Install 36 new catcher leathers |
|
 |
21 - Attach new bridle tapes to wires |
|
 |
22 - Clean & lubricate hammer rail springs |
|
 |
23 - Re-install hammer rail |
|
 |
24 - Clean & lubricate dampers |
|
 |
25 - Repace broken damper flange |
|
 |
26 - Re-install dampers |
|
 |
27 - Action is ready for the piano! |
|
 |
28 - Reglue key bushing |
|
 |
29 - Replace broken key button |
|
 |
30 Clean keys |
|
B - AT THE PIANO OWNER'S HOME
 |
31 - Remove front panels, end blocks & keyslip |
|
 |
32 - Install new leather on pedal rods |
|
 |
33 - Reposition action to eliminate wobbling at bottom |
|
 |
34 - Install new back cloth, punchings. Regulate bottom and top three notes |
|
 |
35 - Install all keys, regulate capstans |
|
 |
36 - Repair broken key |
|
 |
37 - Level white keys |
|
 |
38 - Regulate key dip |
|
 |
39 - Regulate backcheck wires |
|
 |
40 - Regulate letoff |
|
 |
41 - Tuning |
|
 |
42 - Re-assemble panels & fallboardL Finished! |
|
 |
43 - Close-up of fallboard & keys |
|